
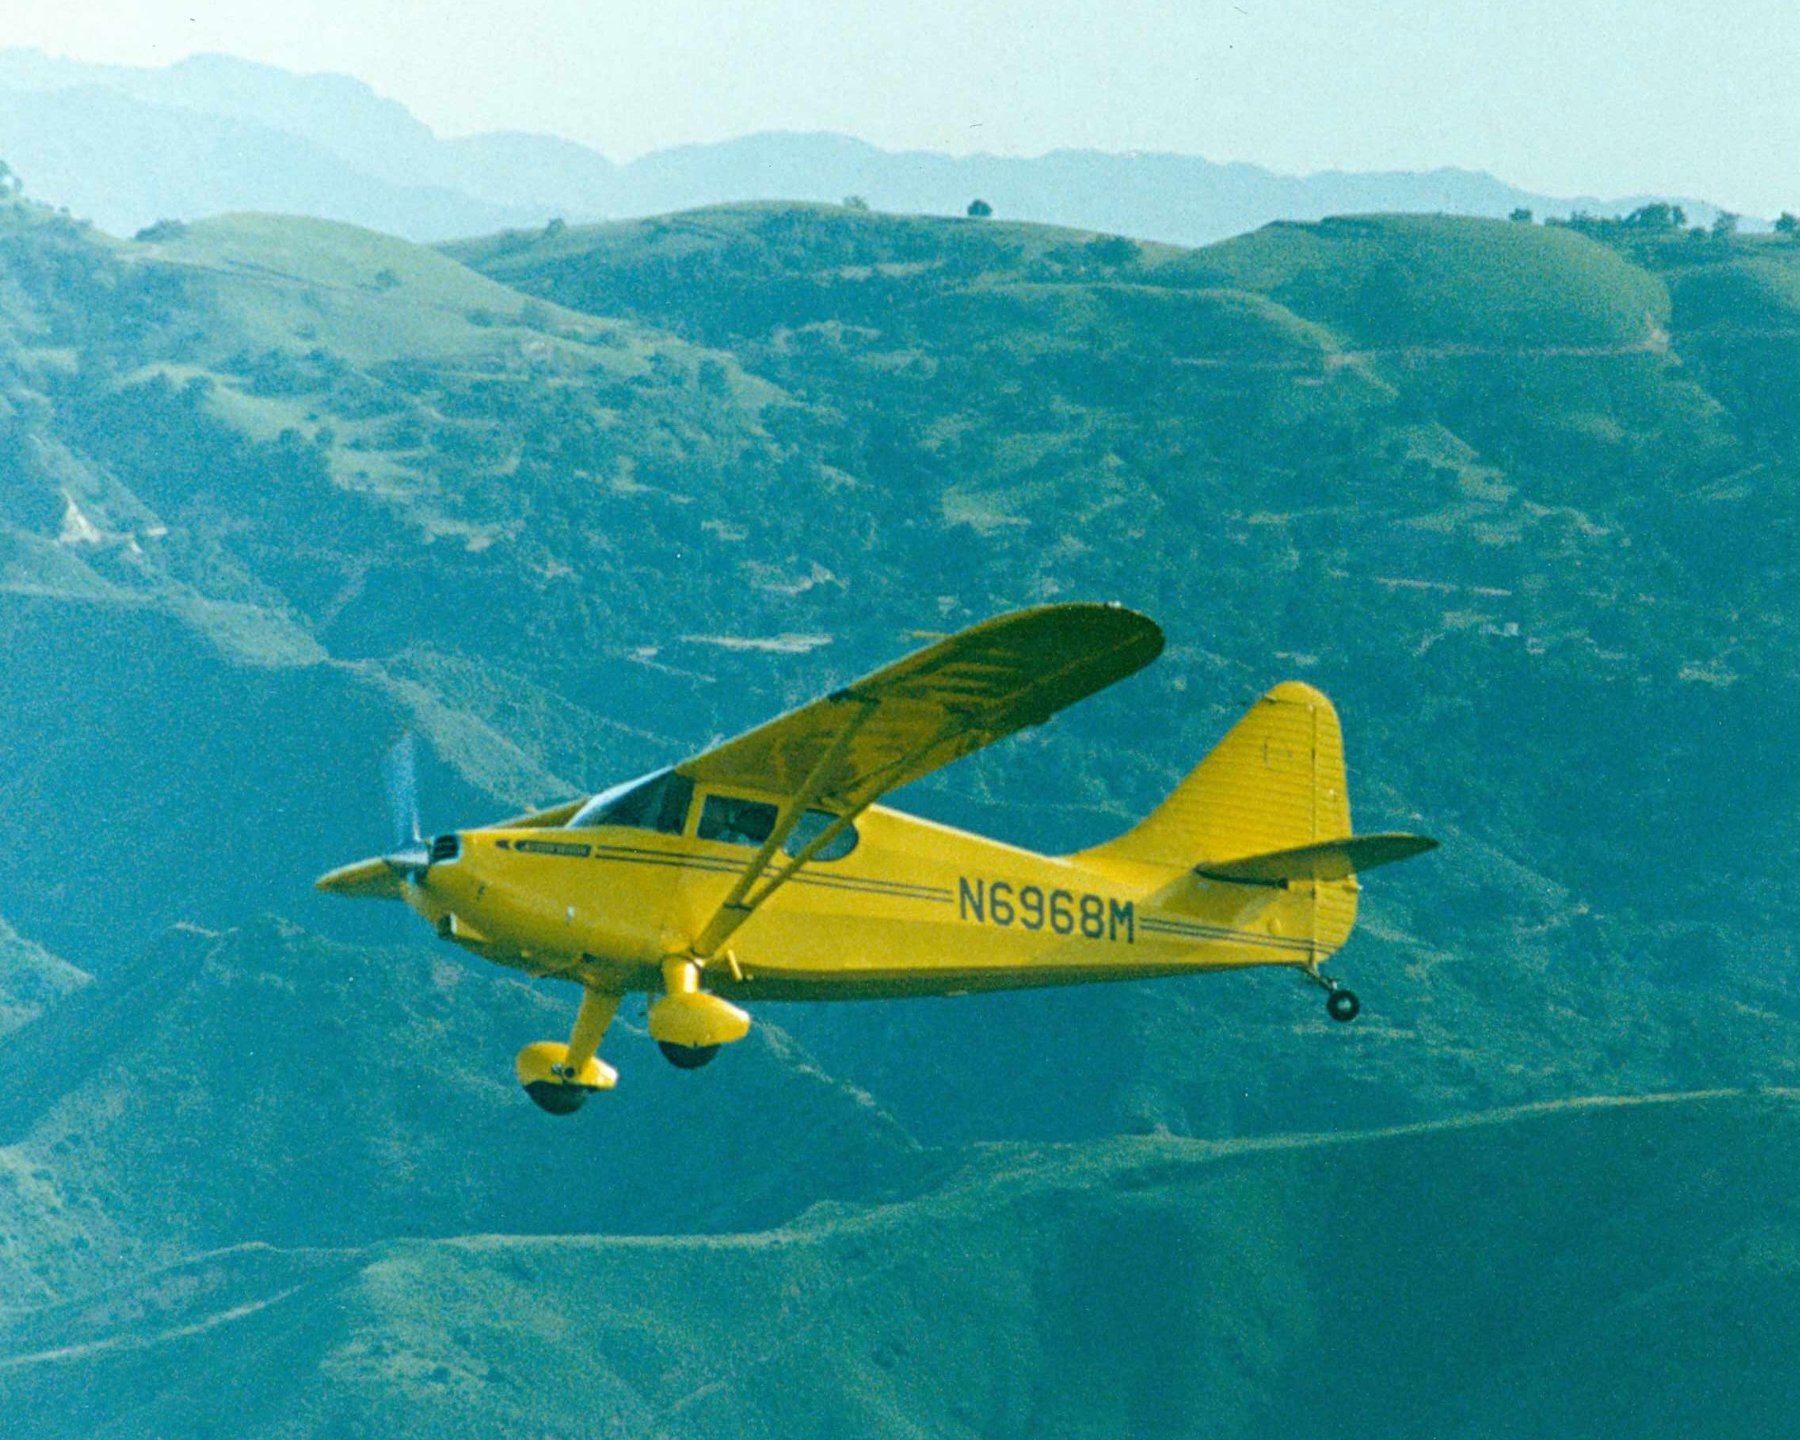
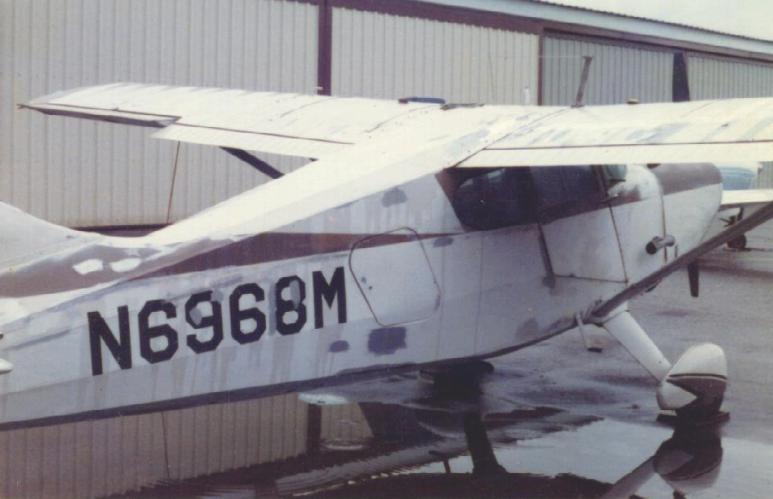
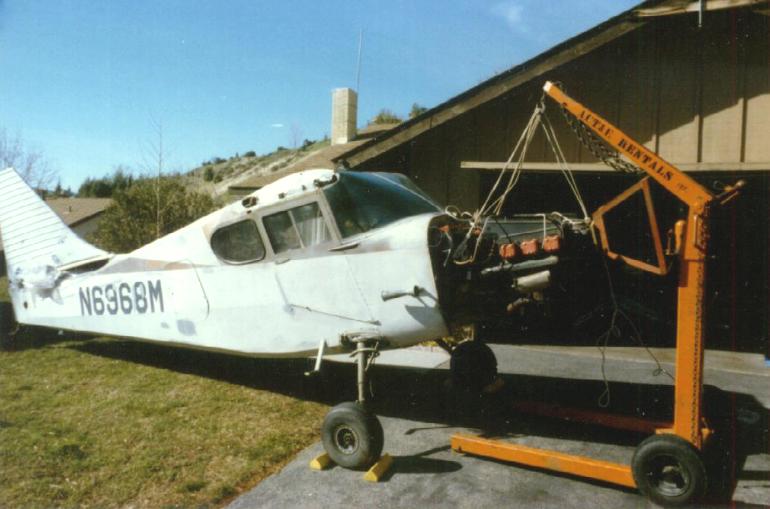
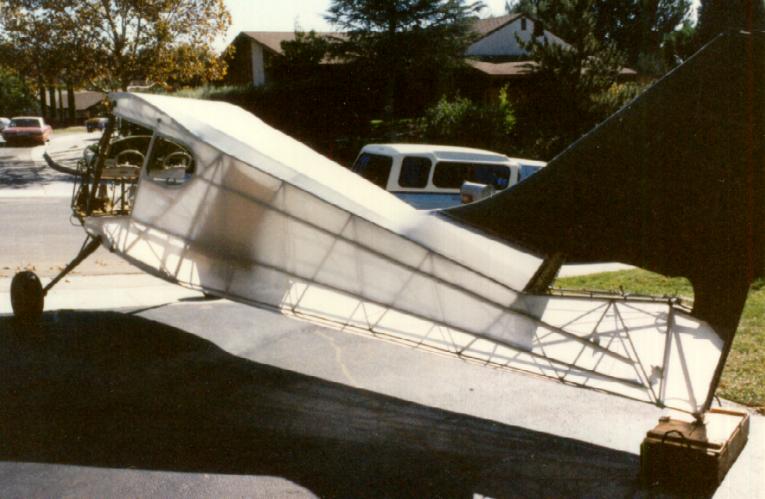
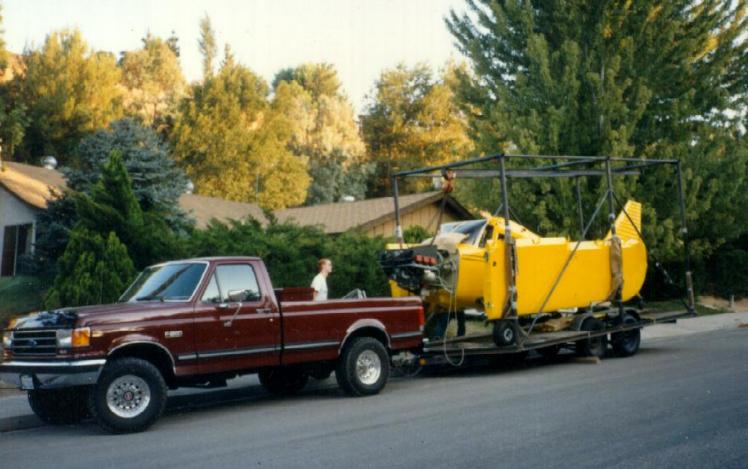
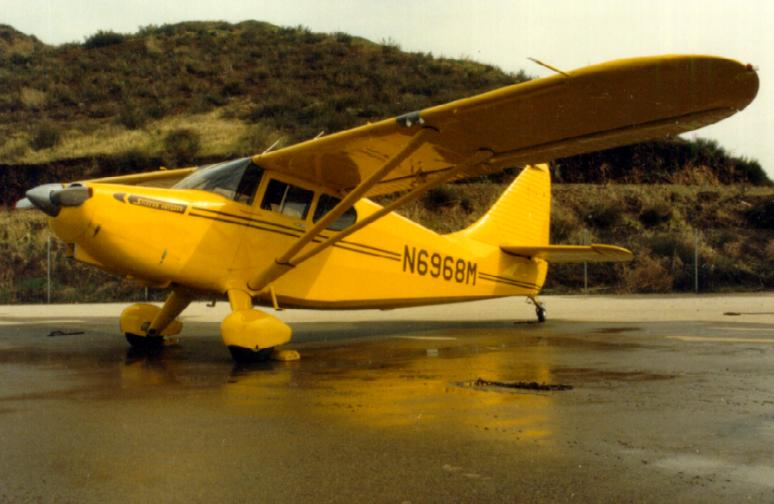
Stinson 108-3 N6968M as purchased
This page shows the process, with text and images, of restoring a Stinson 108 airframe. While the Stinson 108 is the primary subject, the steps shown apply to most light fabric covered aircraft restoration projects.
Page created
01/01/2001, Last updated
01/16/2024
CAUTION -
several publications suggest keeping the
old fabric to use as a pattern, especially to locate inspection
holes. The airplane I purchased was covered with the first
Ceconite process. Problem here is that the early Ceconite process
this airplane was covered with used nitrate dope as the first
brush coats. Nitrate dope sticks better to synthetic fabric
(which is the reason for using nitrate dope rather than the less
flammable butyrate dope), but nitrate dope is extremely flamable.
Be careful with the original fabric, store it carefully. As for
me I documented the location of the inspection holes then
disposed of the old fabric.
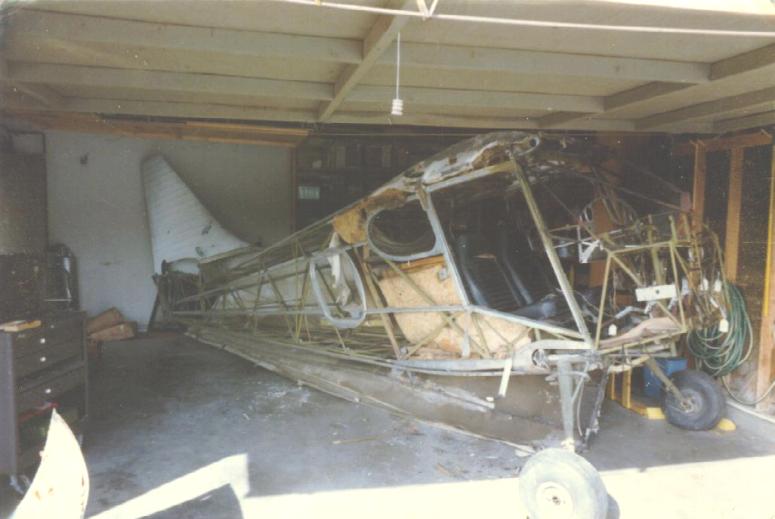
SUGGESTION #1 - before continuing you need to locate an individual with a FAA Inspection Authorization (A&P with IA). This individual must be experienced with fabric covered aircraft. Before an individual can obtain an FAA Inspection Authorization they must first have an FAA Airframe and Powerplant mechanic license. There are times during the restoration where an A&P license alone is insufficient to meet FAA requirements, wile at other time the IA rating for some inspections is essential. After each inspection make certain to have the IA make an appropriate entry in the airplane's airframe log book. Recovering a fuselage or wings also requires completion of the FAA Form 337, and for this the IA inspection and signature is required.
SUGGESTION #2 - keep a detailed record of what you remove, include drawings of how you take pieces apart. I know it seems obvious when you remove it, but write it down in a notebook anyway. Don't loose the notebook! When you go to reassemble it will help a LOT to review your notes on how you disassembled the airplane! Most likely it will be quite a period of time from disassembly to reassembly.
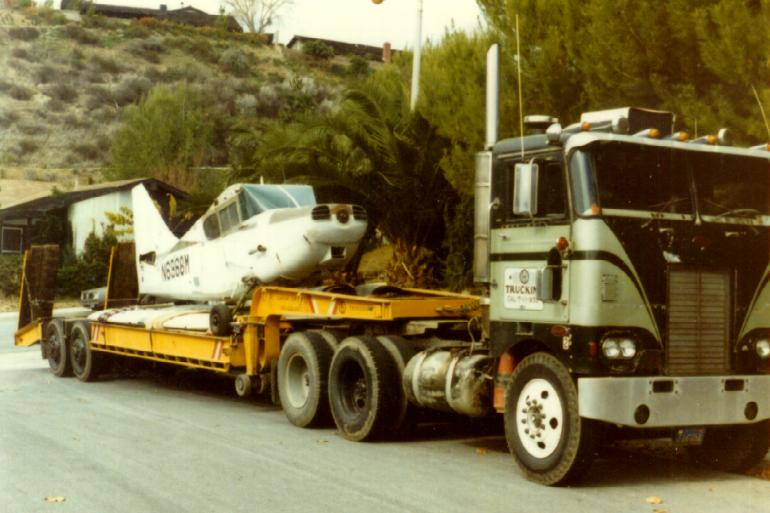
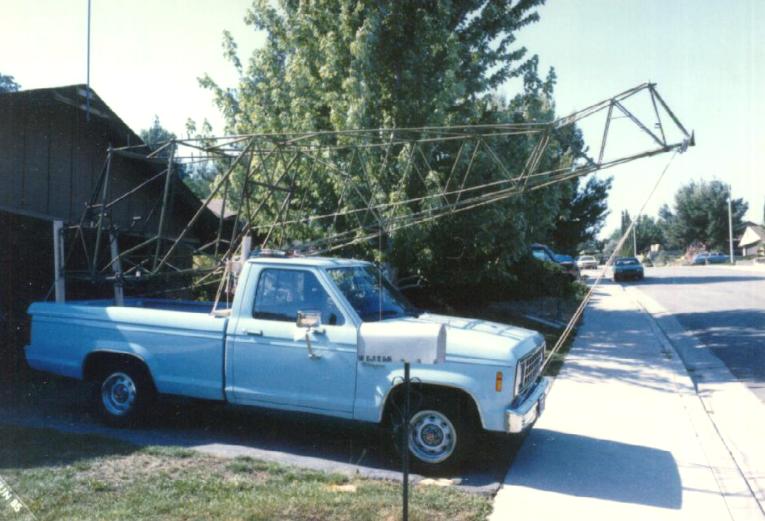
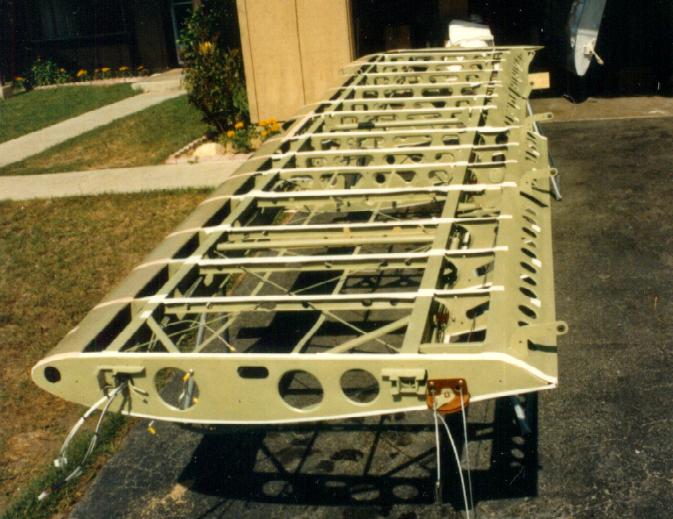
Once everything, that is every nut bolt, former, everything, is removed, you can now bring the basic frame down to bare metal. This view shows the fuselage completely stripped ready for sandblasting. Note the wooden jig used to support the fuselage in the pick up truck to/from the sandblaster's shop. Very soon after sandblasting the fuselage will need to be inspected by the IA as 4130 steel rusts very fast. The IA will be looking for problems in the 4130 steel frame of the fuselage. If there is a problem now is the time to fix it. In California the maximum load height is 10 feet. In the configuration shown the maximum height is 9 feet 6 inches. Check your local laws before moving the fuselage.
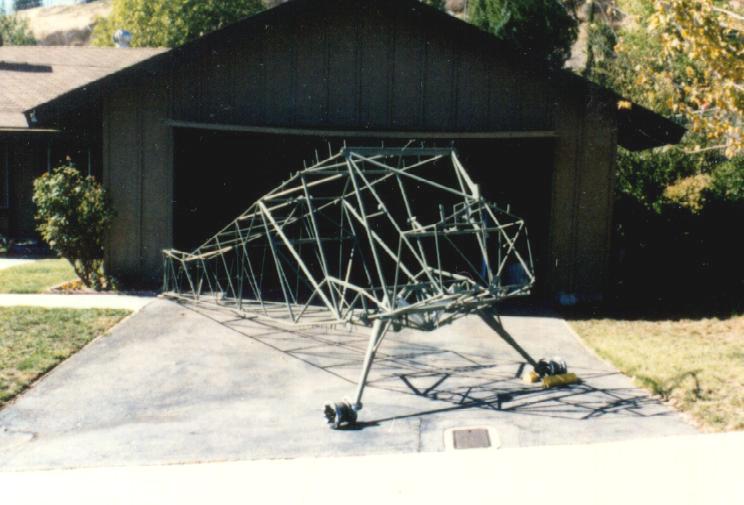
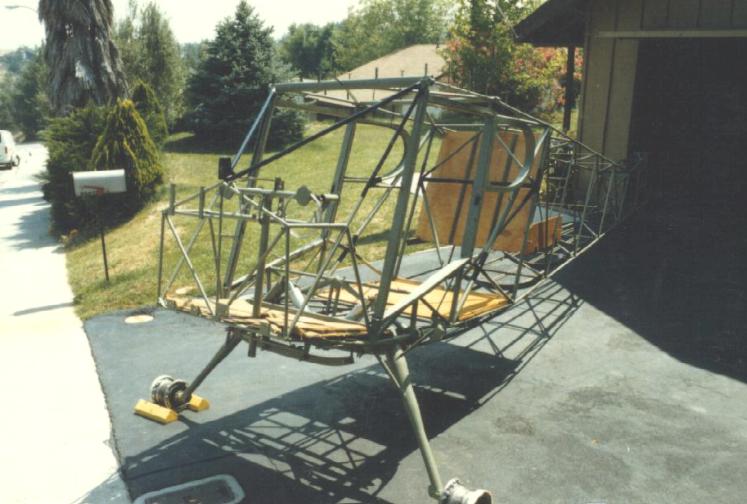
With the fuselage back home, inspected, and the log book entry complete by the IA, reassembly begins. Shown here is the fuselage primped and landing gear reattached. Here is another view of the beginning efforts to reassemble the fuselage. Note the wheels will not be used on the airplane after restoration. I found cracks in the original wheels early on. The advantage of using wheels without tires is that the wheels alone keeps the fuselage a little lower. Note the vertical pieces on the top of the longerons. These pieces are used to hold the aluminum fabric formers. They are also quite close to the garage door, so every little bit helped and that is why the tires are removed from the wheels with cracked rims. After the formers are installed it is not such a problem.
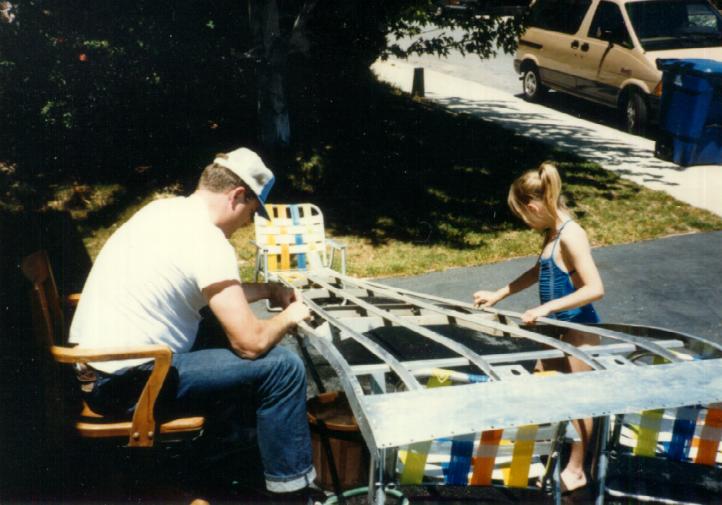
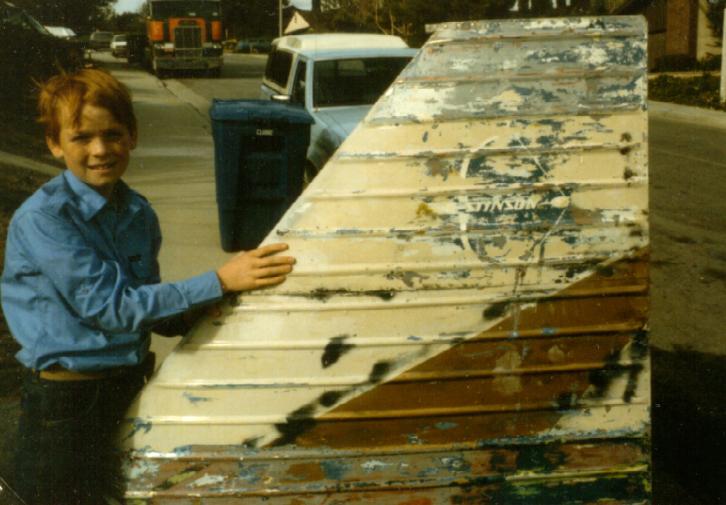
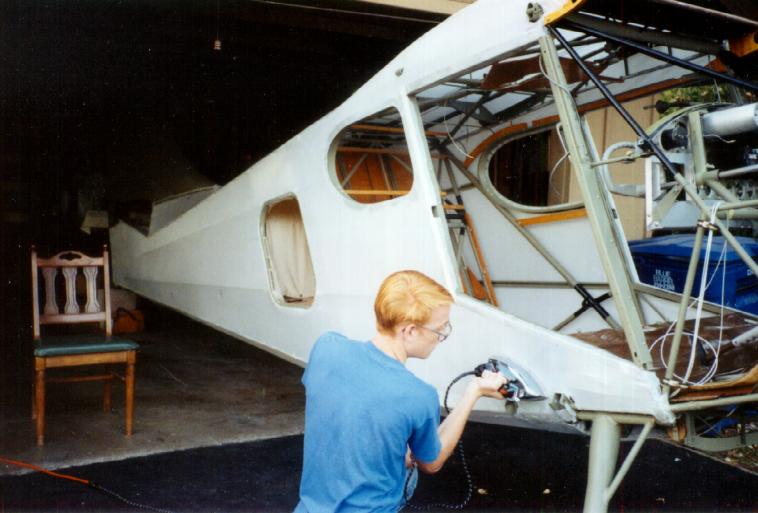
Fuselage preparation continues. Here my daughter and I are using Scotch Brite pads to clean the top aluminum fabric formers after removing the original paint. Here is a view of my son holding the vertical stabilizer showing original Stinson Logo. We found 12 coats of paint on the vertical stabilizer! Each was removed one coat at a time. You can't inspect the airframe metal with layer upon layer of paint. Get the paint off then inspect.
SUGGESTION #3 - obtain parts and service manuals for your airplane. Univair has good quality reprints available for many Classic airplanes, particularly the Stinson 108. When you purchase parts for the airplane, keep the receipt.
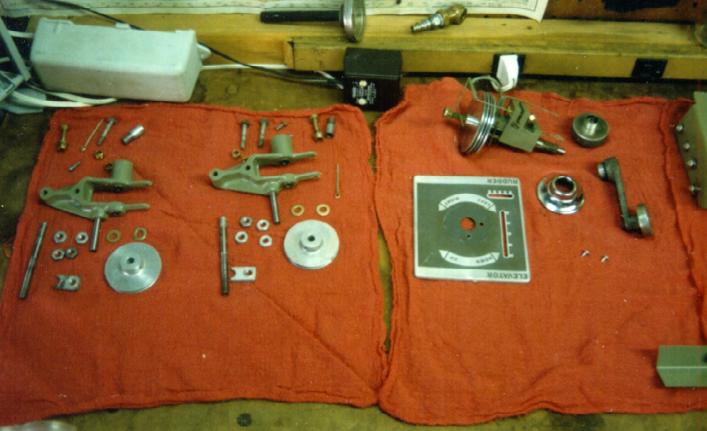
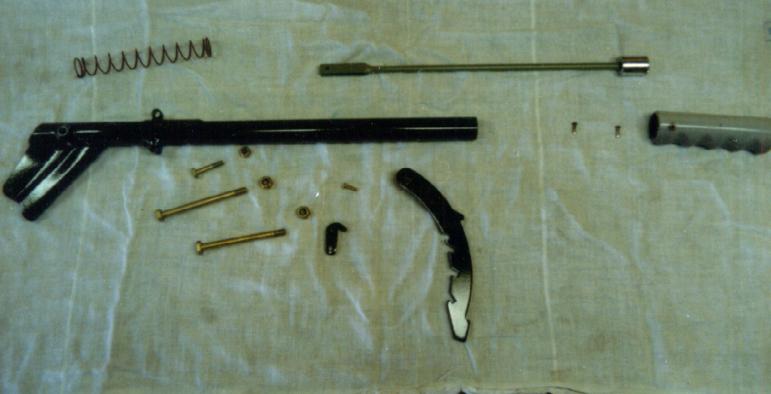
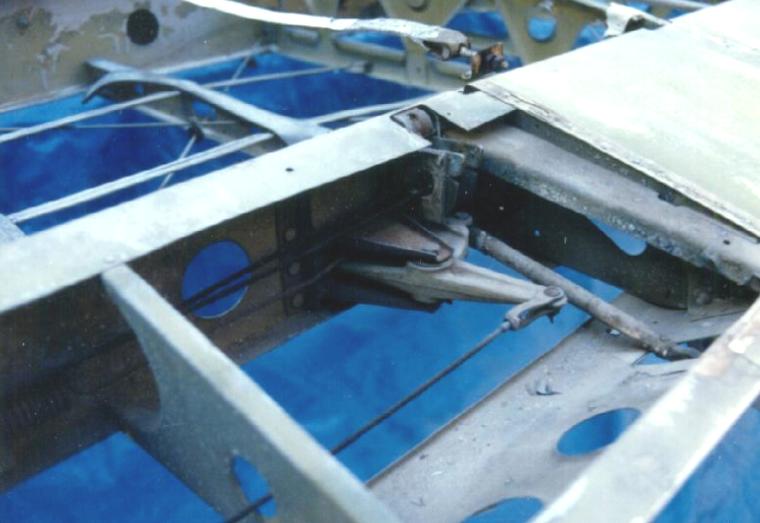
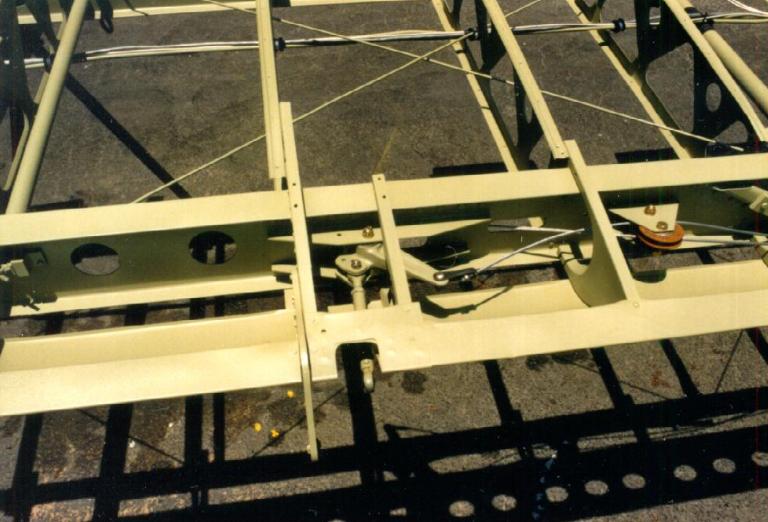
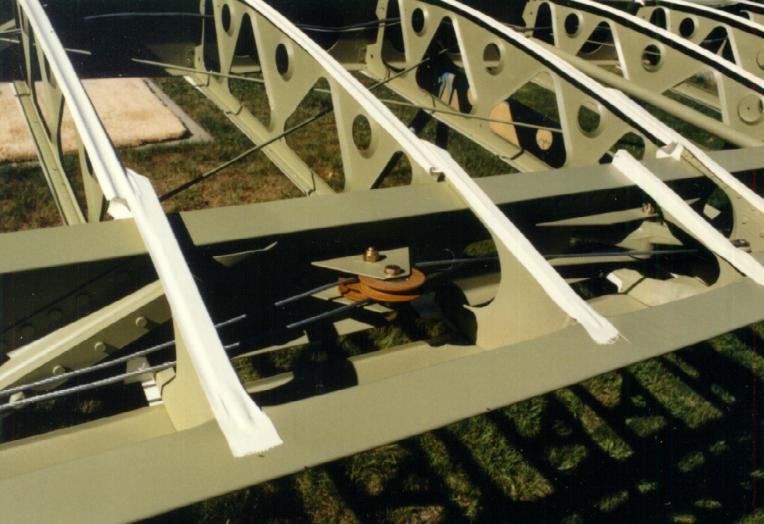
Continue with fuselage preparation. This series of images help show why the fuselage is done first. There are many more little items which need attention in the fuselage compared to the wings. This images shows the trim system disassembled, cleaned, primed and awaiting reassembly. Second image is the flap handle disassembled, cleaned, painted and awaiting reassembly. Note all the small parts. The parts manual is a big help here. In fact unless you are out of the ordinary and have a huge selection of aircraft quality bolts available to you, plan on spending hours with the parts manual writing down each size you need.
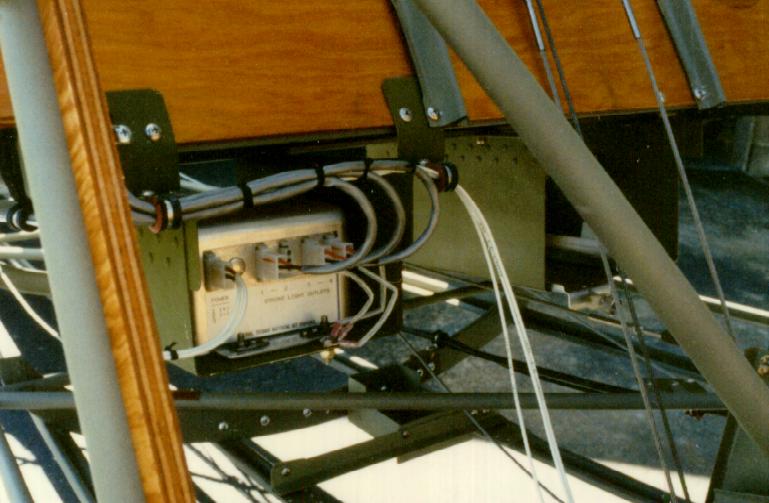
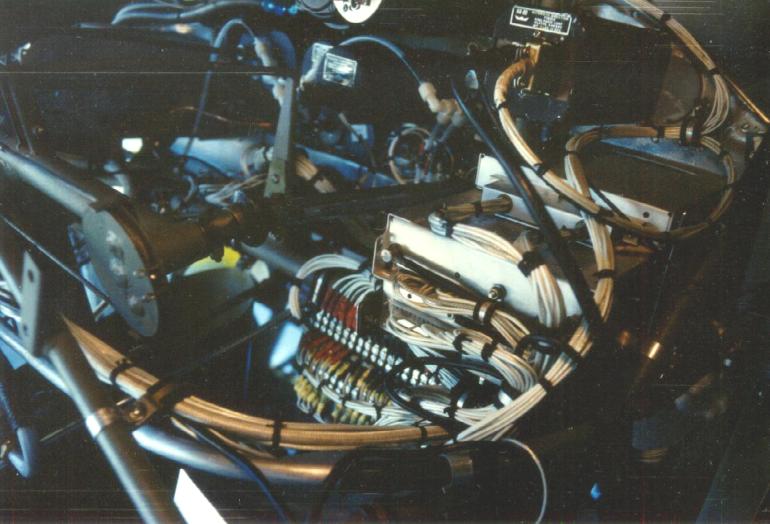
With the fuselage bare it is a good time to add avionics and other items. This view shows the installation of the Whelen strobe light power supply. With the fabric cover off it is easy to get at places to install both the equipment and the electrical wiring. Where ever possible use a single point on the airplane for the grounds for all electrical and avionics. This helps considerably in reducing noise in the radios.
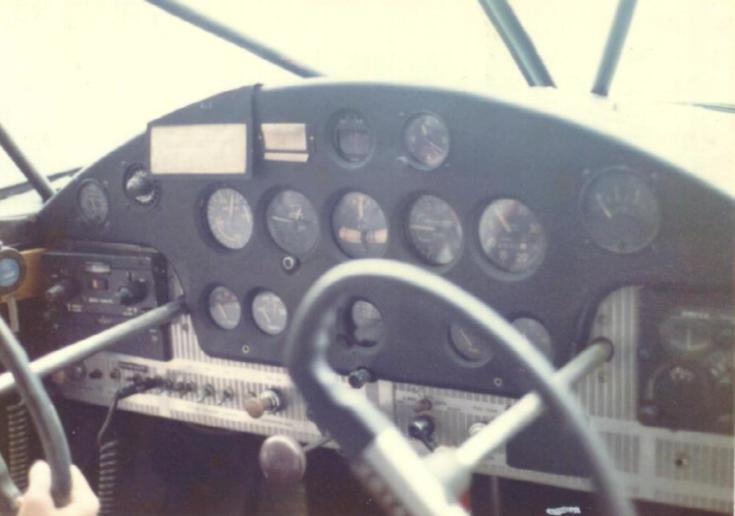
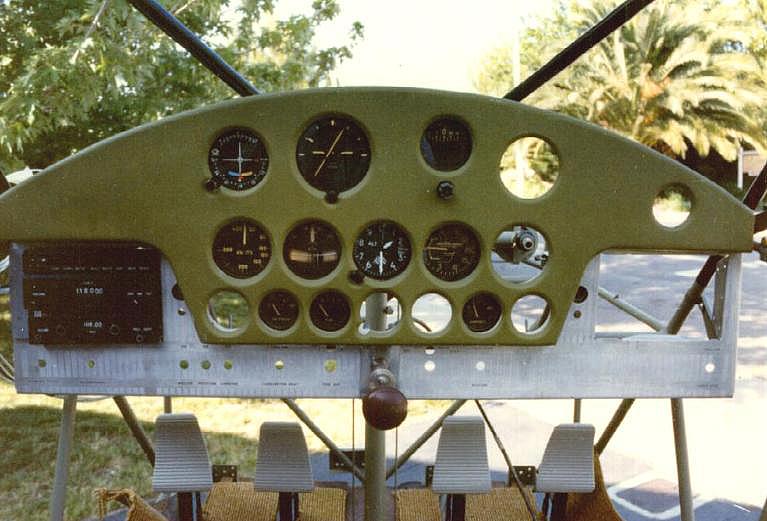
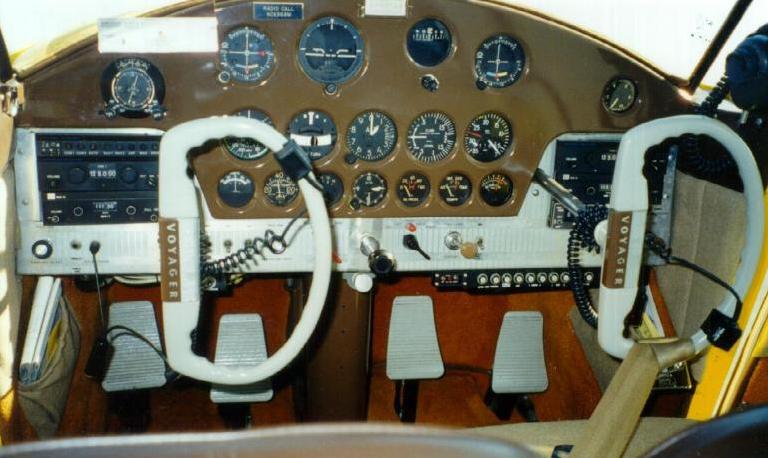
The instrument panel is
also done before the fabric is reapplied. This view shows the
instrument panel as purchased.
Both radios had long since been removed from the FCC's list
of approved aircraft transmitters. Narco Superhomers were one of
the most popular and useful general aviation radios of its time.
But the time of 12 channel VHF transmitters with tunable
receivers was long gone. This view shows the beginning effort to restore the instrument
panel. Note the original instrument panel looked as though
someone had practiced operating a drill on it. I replaced all
instrument panel pieces. I understand that Univair no longer has
the etched aluminum pieces. If you check my Stinson Homepage you
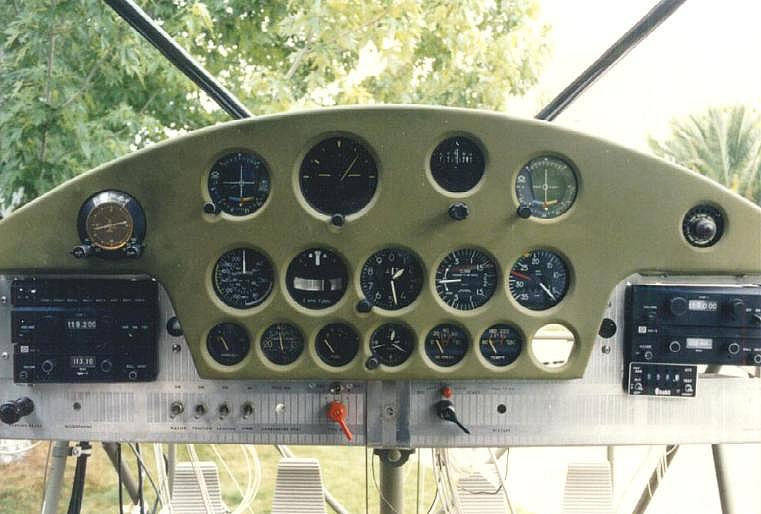
will find a link to new etched instrument panel pieces. Next view
shows the instrument about half way
done. Last view, taken much more recently actually, shows the
completed instrument panel.
Another surprise when I had many of the instruments overhauled;
many had radium dials, and they were not repairable! I also
wanted instruments which would fit the performance of the
aircraft. Check the rate of climb carefully. Note how the low end
is expanded to achieve greater detail in the low range. New rate
of climb indicators have the high end of the scale expanded. A
Stinson 108 is not going to climb 2000 feet per minute. I wanted
to accurately know how the airplane climbed, so I found a WWII
TSO'd Bendix instrument with the expanded low end and had it
overhauled. All this takes time. Another reason to do the
fuselage first, overhauling instruments and buying new radios is
expensive.
SUGGESTION #4
- Keep in mind this page shows restoring a
certified airplane, not a home built. That means you need
certified parts including radios and instruments. The IA can sign
off on the mechanical part of the radio installation, but you
will need a FAA approved radio shop to sign off on the electrical
part of the radio installation. I purchased my radios from a
local avionics dealer who is a FAA Approved radio shop. I bought
my radios from that shop even though some may have been a little
more expensive than buying out of a Trade-A-Plane ad. Some
reasons for my choice: the shop guaranteed the radios, knew I was
restoring an airplane and the radios I bought would not be tested
for many months after I purchased them. I only had a problem with
one radio, but it was backed up fully. In addition I got a lot of
good advice from an experienced avionics techincian. A Stinson
108 only has a 25 amp generator, so be careful with your
electronics (lights - instrument, position and strobe take up
more than half the available power). Remember the 80% rule
(maximum continuous power drain is limited by AC 43 to 80% of the
rated capacity of the generator or alternator). Lastly after
showing the shop my wiring diagrams, they came by and inspected
my work, then signed it off making the installation legal. In the
end I had radios which worked great, didn't have noise
problems, were legally installed, and this had a lot to do with
suggestions from the experienced avionics techincian who owns the
shop. An important point of this suggestion - use a single
ground point for all your radios. In the case of this
Stinson some were mounted on the left side of the instrument
panel, others were mounted on the right side of the instrument
panel, but the ground for all was at one point near the center at
the throttle bracket. This is a big help to stop radio
noise. Grounding the radios and other electronics all over
the airplane works, but it also creates ground loops. If
you don't want noise in your radios when you finish ground
everything at the same point.
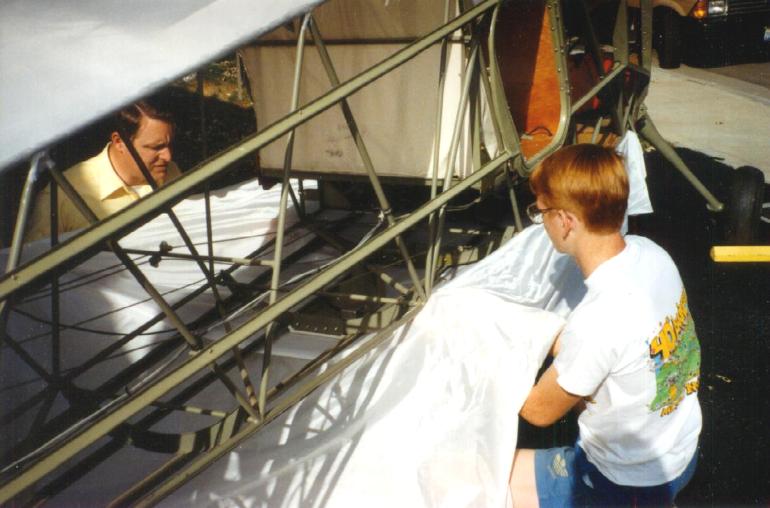
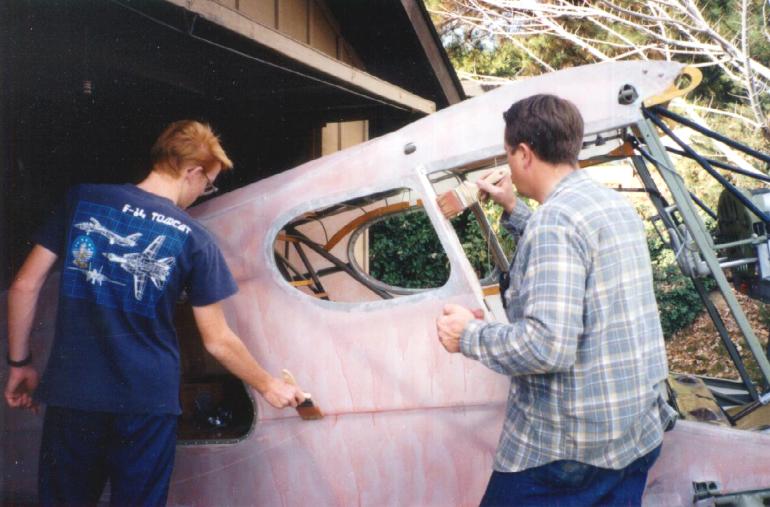
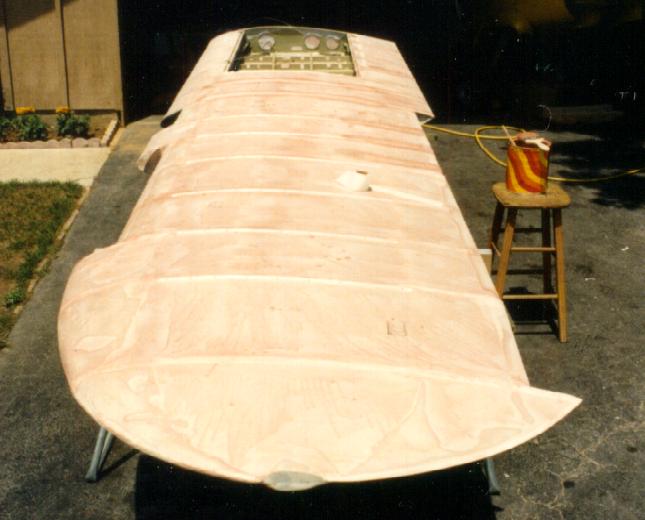
After the fabric has the
brush coats you apply the tape along all points where the fabric
may wear. This image actually shows the tape applied to the wing. For some
unknown reason I didn't photograph this step on the fuselage.
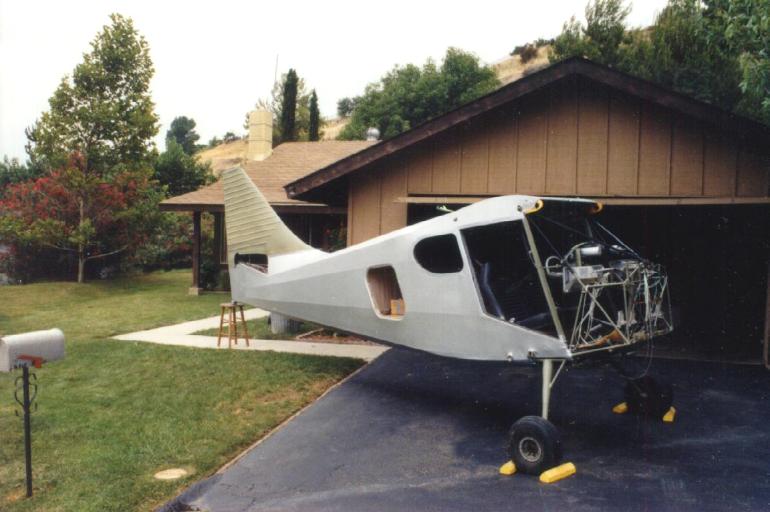
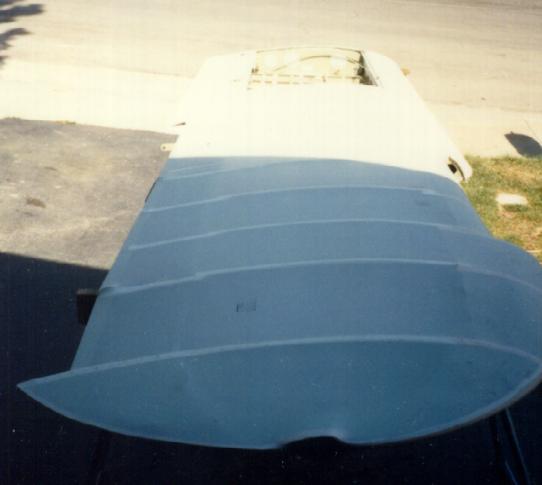
After the brush coats multiple coats
with aluminum powder, called the silver coat, are applied by
spray gun. The purpose of the aluminum coating is to keep the
suns ultra violet rays off the fabric. I applied 4 coats of
aluminum impregnated Poly Spray, sanding between coats after the
second coat. Basic test is to hold a 60 watt lamp about a foot
from the fabric and check to make sure it doesn't penetrate
so you can see it from inside the fuselage.
(This original text is now outdated - At
this point, when the fuselage is covered through aluminum, it is
legally covered. The outside coat is not required by the FAA,
although most (by far most) airplane owners continue on with a
final finish coat.) The Poly Fiber STC now requires
Poly Fiber finishe coats to comply with the
STC.
At this time the IA should again inspect your work and make a log book entry and complete and sign a FAA Form 337 which is required for a fuselage recover job. Be certain to keep a copy of the completed and signed (by the IA) form 337 with the airplane.
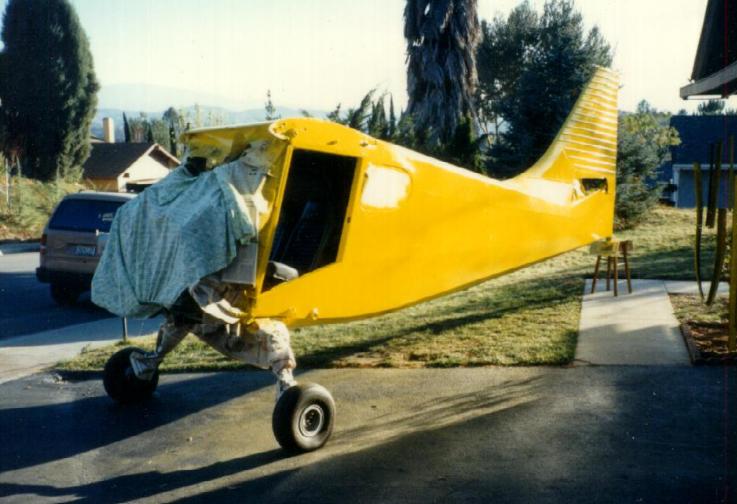
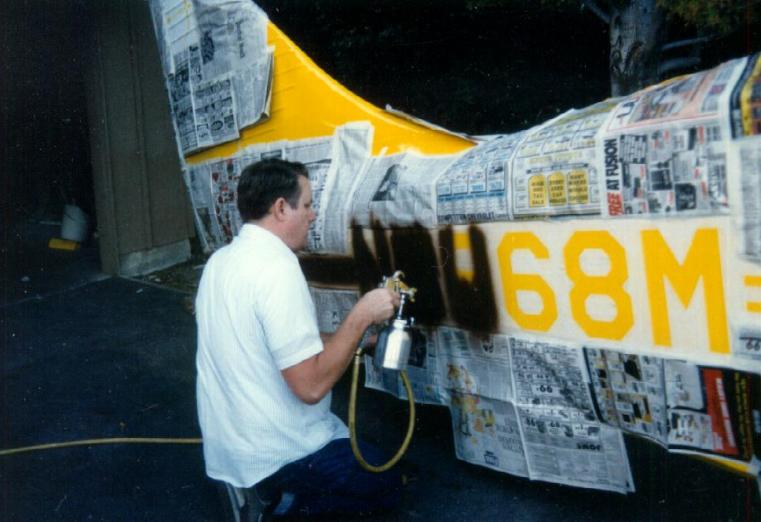
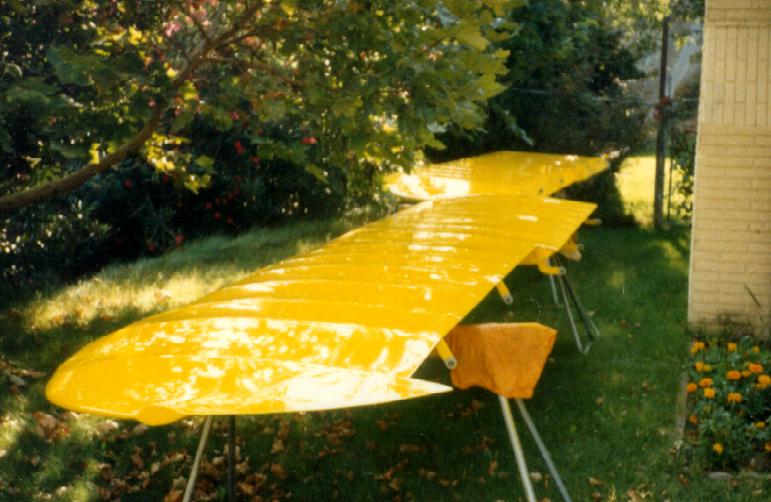
Finish coat - This view
shows the base finish coat. Plan
on using a LOT of masking tape and work at covering everything
you don't want painted! There are four coats of the Lemon
Yellow finish coat. With the base finish coat on it is time to
apply the trim. After the characters are masked the trim is sprayed. It took me about 20
minutes per character to mask. The Stinson logo was a complete
mask I purchased from Univair (top of the vertical stabilizer).
This view shows the completed
trim (except for a small part at the base of the rudder and
the cowling insignia which came after this
photo).
Since the lift comes from
low pressure on top of the wings, there is a requirement to
fasten the fabric to the wing. There are actually several means
by which different manufactures secure the fabric to the wing. AC
43 shows rib stitching as the primary method. Stinson 108's
came from the factory using PK type self taping
screws.
After the brush coat comes the aluminum coating. I didn't photograph the wing at that step, but this image shows the fuselage with aluminum spray coat.
(Original text here is
outdated - Again, as with the fuselage most people will apply a
finish coat.) A finish
coat of Poly Fiber finish is required to comply with the
STC. With the wings having the finish spray coat it is time for
the I.A. to make an inspection. As with the fuselage it is time
for both a logbook entry and the completion of a FAA Form
337. Be certain to keep a copy of the completed and signed
form 337 with the airplane.
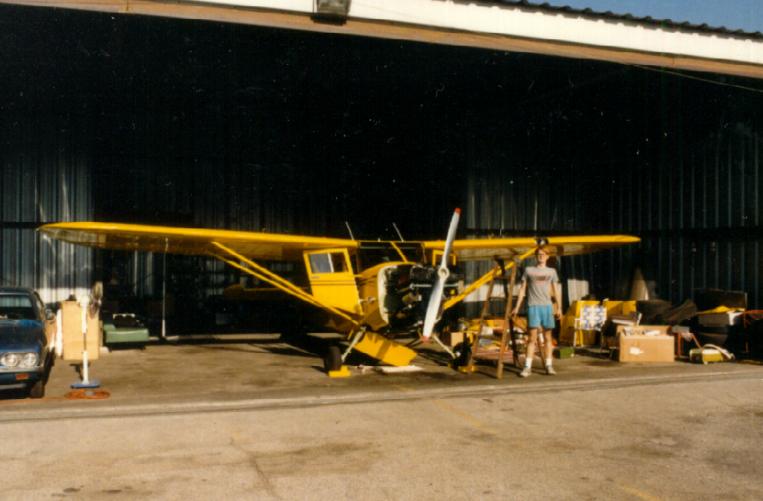
My son is shown in front of
the airplane, now some 7 years older than the earlier view of
stipping the paint from the vertical
stabilizer.
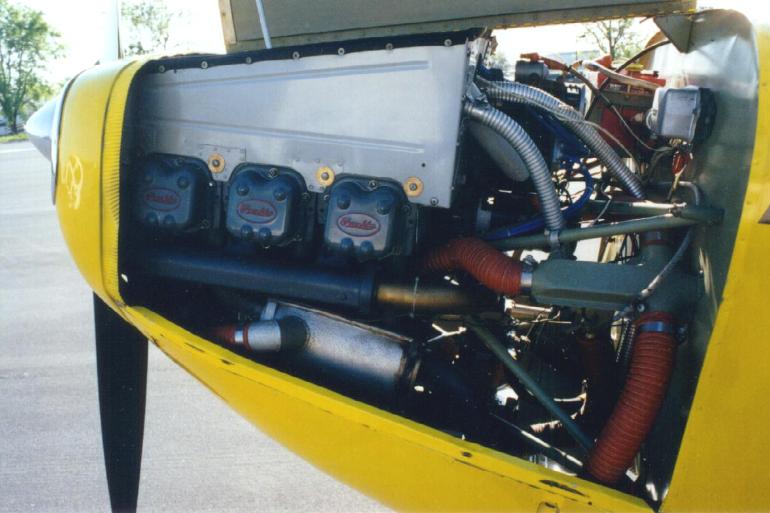
Both the airframe and
engine are inspected. With the all the work accomplished on the
airframe it should pass easily. The engine will also need to pass
the annuall inspection. For that compression must be good, mags
check good, no oil leaks etc. This article deals mostly with the
airframe, but I wanted to mention the engine must be satisfactory
to complete the annual inspection. This view shows the installed engine ready to fly. Note that
the firewall, engine mount, baffles, etc., was all stripped,
cleaned, inspected and primered during the fuselage
preparation.
A couple of parting points.
It will take much longer than you think. It will cost more than
you budget. You will find that locating the correct part for an
old airplane can be time consuming, but you can find those parts,
just plan on becoming a "parts detecitve." For
the Stinson 108, and many other Classic light aircraft, Univair
holds the type certificate, and can supply and or manufacture
many if not most of the airframe parts. You will also find on my
main Stinson page a list of Stinson
and Frnklin Parts and Service Sources. This list will help
locate parts and shops who work on classic
aircraft.
Training is a start, but there is no substitute for experience. Locate comptent, experienced people to help you. Especially the I.A. and radio technician.
My final suggestion is to always Fly SAFE! Remember the FAR's are minimum requirements. Three miles visibility is a FAA FAR minimum. Based upon your own experience you may well want to set your own personal minimum higher, of say 5 miles or better visibility. Enjoy flying, and do it safely.
Hope you enjoyed this
page. If you have comments, criticsims, error corrections, or
whatever, contact me, Larry Westin at email
westin@westin553.net.
 to Larry & Sue Westin's
homepage.
to Larry & Sue Westin's
homepage.